


Use this dialog box to customize your toolbars.
Step by Step Instructions for Using the Customize Toolbar dialog box
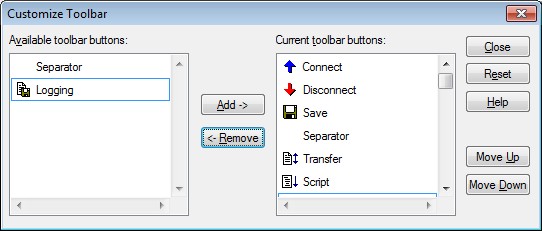
| 1. | To add a button to the toolbar, select a button from the Available buttons list box and click the Add -> button. |
| 2. | To remove a button from the toolbar, select a button from the Toolbar buttons list box and click the <- Remove button. |
| 3. | To reposition a button on the toolbar, select a button from the Toolbar buttons list box and click the Move Up or Move Down button. |
| 4. | To return to the toolbar the state it was in when the dialog box was opened, click the Reset button. |
| 5. | When your changes are complete, click the Close button to save your changes. |
| 6. | ( Keypad and Custom Toolbars only) The Save As dialog box prompts you for a Toolbar Name. Use this name to reference your keypad or custom toolbar for use in future sessions. The Save As dialog box prompt is not displayed when you right click on the Keypad Toolbar. |
Shortcuts:
Right click on the Standard or Keypad Toolbar.
Tips:
Changes to the standard toolbar affect all sessions not just the current session.
TN3270 Plus is continually being improved. To learn more about the latest enhancements, please review our Version History web page.